
Inspired by freeCodeCamp এর "Git Internals" guide আর Octobot এর "How Git Internally Works" থেকে। লেখা আমার নিজের ভাষায়, ছবি Octobot এর article থেকে credit দিয়ে নেওয়া।
এই tutorial এ কী শিখব

git add, git commit, git push — এগুলো আমরা সবাই দিন রাত চালাই। কিন্তু কখনো ভেবেছ .git folder এর ভিতরে আসলে কী হচ্ছে? git commit চালালে কোথায় কী save হয়? branch switch করলে কোন file update হয়?
এই lesson এ আমরা দুই step এ এগোব:
- Theory — Git এর core তিনটা object (blob, tree, commit), branch কী, change record এর তিন stage।
- Hardcore manual rebuild — শুধু plumbing command ব্যবহার করে নিজ হাতে .git folder বানাব, object create করব, branch তৈরি করব। কোনো
git init,git add,git commitনা — সব manually।
এটা যখন শেষ করবে, Git আর কোনো magic থাকবে না। শুধু কিছু text file আর hash এর খেলা।
Part 1: Theory
Git এর তিন object — blob, tree, commit

Git এর core আসলে একটা key-value store — content দাও, SHA-1 hash পাও, পরে সেই hash দিয়ে content ফেরত পাও। ব্যস।
এই store এ মাত্র তিন রকম object থাকে:
blob — file এর content
Blob মানে শুধু কোনো file এর কাঁচা bytes। কোনো নাম নাই, কোনো metadata নাই — শুধু content।
দুইটা ভিন্ন file এ যদি একদম একই content থাকে, Git দুইবার store করে না — একই blob দুই জায়গায় reference হয়।
tree — folder এর snapshot
Tree হলো একটা directory listing। প্রতিটা entry তে চারটা জিনিস:
- mode — permission (
100644মানে regular file,100755executable,040000subdirectory) - type —
blob(file) অথবাtree(subdirectory) - hash — যাকে point করছে তার SHA-1
- name — file বা folder এর নাম
Tree আরেকটা tree কে point করতে পারে — এভাবে nested folder structure তৈরি হয়।

commit — snapshot + history
Commit object এ থাকে:
- কোন root tree কে point করছে (পুরো repo এর snapshot)
- author কে, কখন
- committer কে, কখন (rebase এ আলাদা হতে পারে)
- message
- এক বা একাধিক parent commit এর hash (প্রথম commit এ parent থাকে না, merge commit এ দুইটা থাকে)
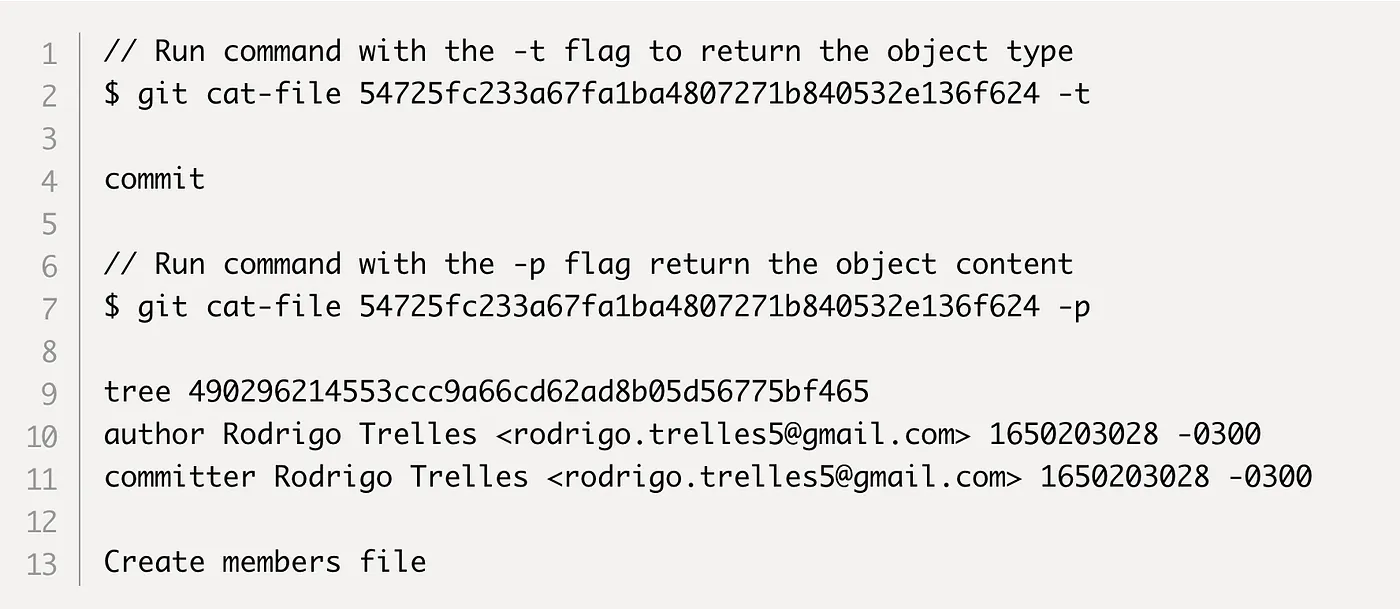
Parent pointer এর কারণেই commit গুলো একটা linked list তৈরি করে — এটাই history।

তিনটার সম্পর্ক
| Object | কী রাখে | কীসে point করে |
|---|---|---|
| commit | metadata + message | একটা tree + parent commit(s) |
| tree | directory listing | অনেক blob/tree |
| blob | file content | কিছু না |
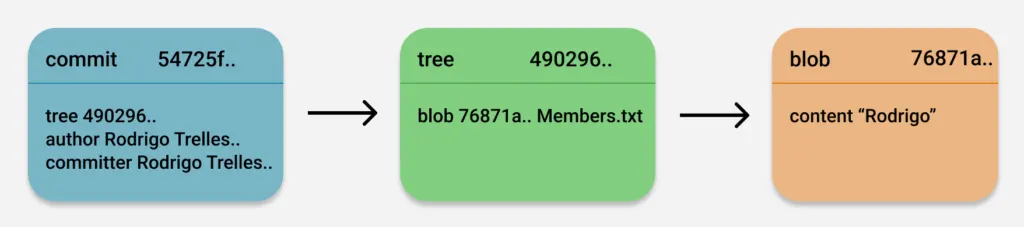
সব object SHA-1 hash দিয়ে addressed। সব immutable — একবার তৈরি হলে আর পাল্টায় না। কিছু পাল্টালে নতুন object তৈরি হয়, পুরানোটা থেকে যায় (যতদিন কোনো কিছু সেটাকে reference করছে)।
Branch — commit এর উপর মানুষপড়া নাম
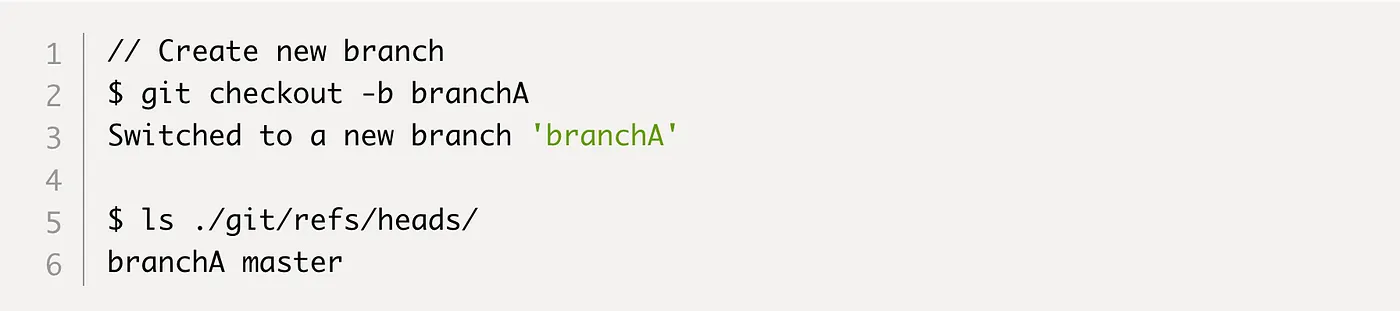
40 character এর SHA-1 hash মনে রাখা impossible। তাই Git branch নামে একটা concept দেয় — একটা মানুষপড়া নাম যেটা শুধু একটা commit hash কে point করে।
.git/refs/heads/main — এটা একটা plain text file। ভিতরে শুধু একটা hash লেখা। ব্যস। main branch বলতে এর বেশি কিছু না।

নতুন commit করলে Git এই file টা update করে দেয় — নতুন commit এর hash বসিয়ে দেয়। এজন্যই branch "এগিয়ে যায়"।
HEAD — pointer to pointer
কোন branch এ আমি এখন আছি? সেটা track করে .git/HEAD file। ভিতরে লেখা থাকে:
ref: refs/heads/main
মানে HEAD সরাসরি commit কে point করে না — বরং একটা branch কে point করে, branch কে point করে commit। HEAD = pointer to pointer।

git checkout dev করলে আসলে শুধু HEAD এর ভিতরের লাইন পাল্টায় (ref: refs/heads/dev)। working directory adjust হয়, কিন্তু কোনো object copy হয় না।
Change record এর তিন stage
Git এ যেকোনো change তিনটা area দিয়ে যায়:
Working Directory  →  Staging Area (Index)  →  Repository (.git/objects)
   (modify)              (git add)                   (git commit)
- Working directory — তোমার actual files। যা edit করছ।
- Staging area (বা index) — কোন কোন change next commit এ যাবে সেটার একটা "prepared" list। File
.git/indexএ binary format এ থাকে। - Repository —
.git/objects/এর ভিতরের permanent storage।
File এর state দুই রকম: tracked (Git চিনে) আর untracked (নতুন file, Git এখনো জানে না)।
Part 2: Conventional way
আগে normal way তে দেখি কী হয়।
$ mkdir myrepo && cd myrepo
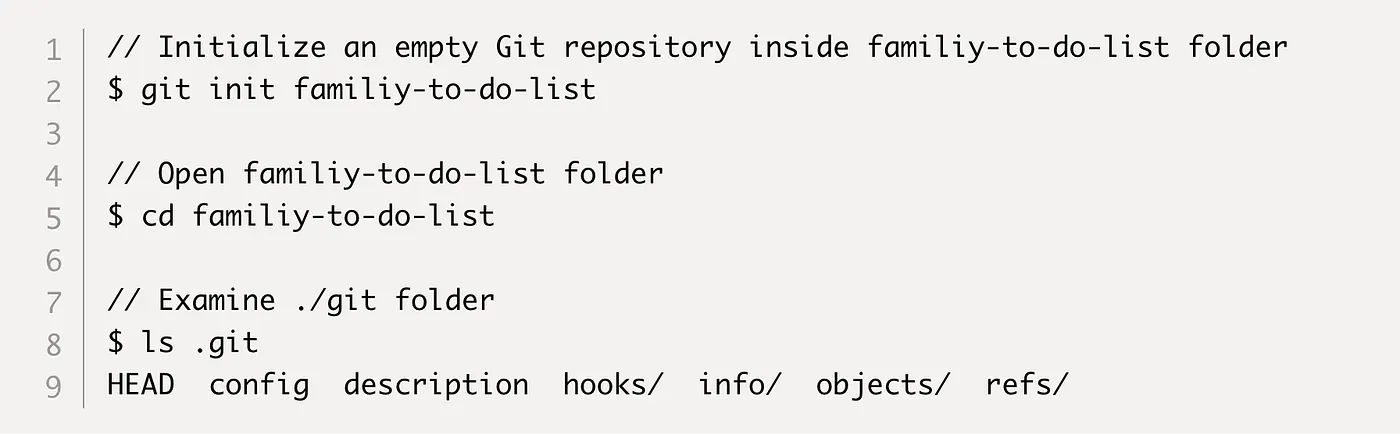
$ git init
$ ls -a .git
HEAD  config  description  hooks/  info/  objects/  refs/
একটা file বানিয়ে commit করি:
$ echo "hello git" > hello.txt
$ git add hello.txt
$ git commit -m "first commit"
এখন .git/objects/ দেখো:

তিনটা object তৈরি হয়েছে — blob (file content), tree (folder), commit। প্রতিটা সাব-folder এর নাম hash এর প্রথম 2 character, file এর নাম বাকি 38।
git cat-file -p <hash> দিয়ে যেকোনো object এর content দেখা যায়:
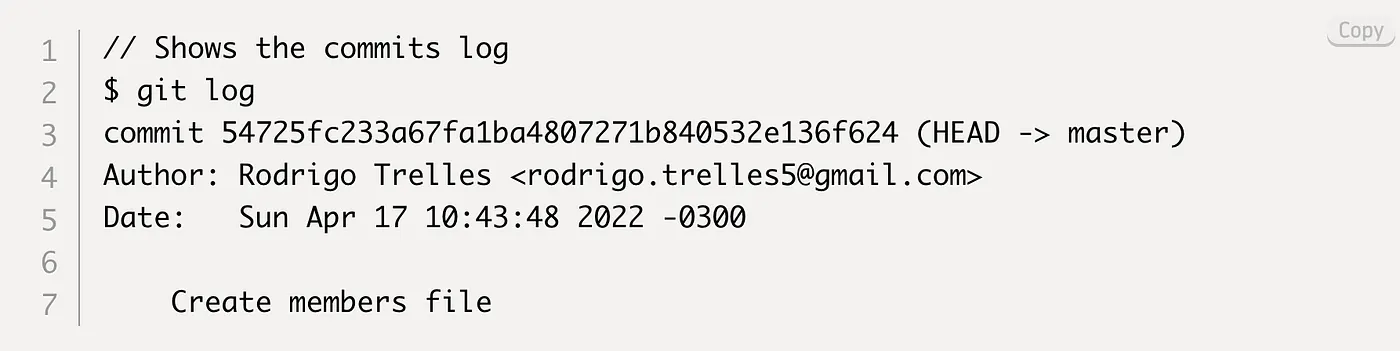

ঠিক যেমন theory তে বলেছিলাম — তিন object, পরস্পরের সাথে যুক্ত।
Part 3: এবার hardcore — manually .git বানাই
এখন আসল মজা। আমরা কোনো git init, git add, git commit চালাব না। শুধু plumbing command ব্যবহার করে নিজ হাতে repo বানাব।
Plumbing vs Porcelain
Git এর command দুই layer এর:
- Porcelain — user-facing, প্রতিদিনের command:
git add,git commit,git log,git branch,git checkout। সুন্দর, easy। - Plumbing — low-level command:
git hash-object,git cat-file,git update-index,git write-tree,git commit-tree,git update-ref। কাঁচা, কিন্তু শক্তিশালী।
Porcelain command গুলো ভিতরে plumbing command call করে। আমরা porcelain skip করে সরাসরি plumbing দিয়ে কাজ করব।
Step 1: হাতে .git folder বানাই
$ mkdir hardcore-repo && cd hardcore-repo
$ mkdir -p .git/objects .git/refs/heads
$ echo "ref: refs/heads/main" > .git/HEAD
এতটুকুই। তিনটা folder + একটা HEAD file। Git এখন একে valid repo হিসেবে চিনবে:
$ git status
On branch main
No commits yet
nothing to commit
কোনো git init লাগে নাই — Git বুঝে নিয়েছে কারণ .git/ এর shape ঠিক আছে।
Step 2: হাতে blob তৈরি
একটা file এর content কে blob বানাতে git hash-object ব্যবহার করি:
$ echo "hello hardcore" > hello.txt
$ git hash-object -w hello.txt
a1b2c3d4e5f6...
-wমানে "শুধু hash না, actually.git/objects/এ write করো"- output টা SHA-1 hash
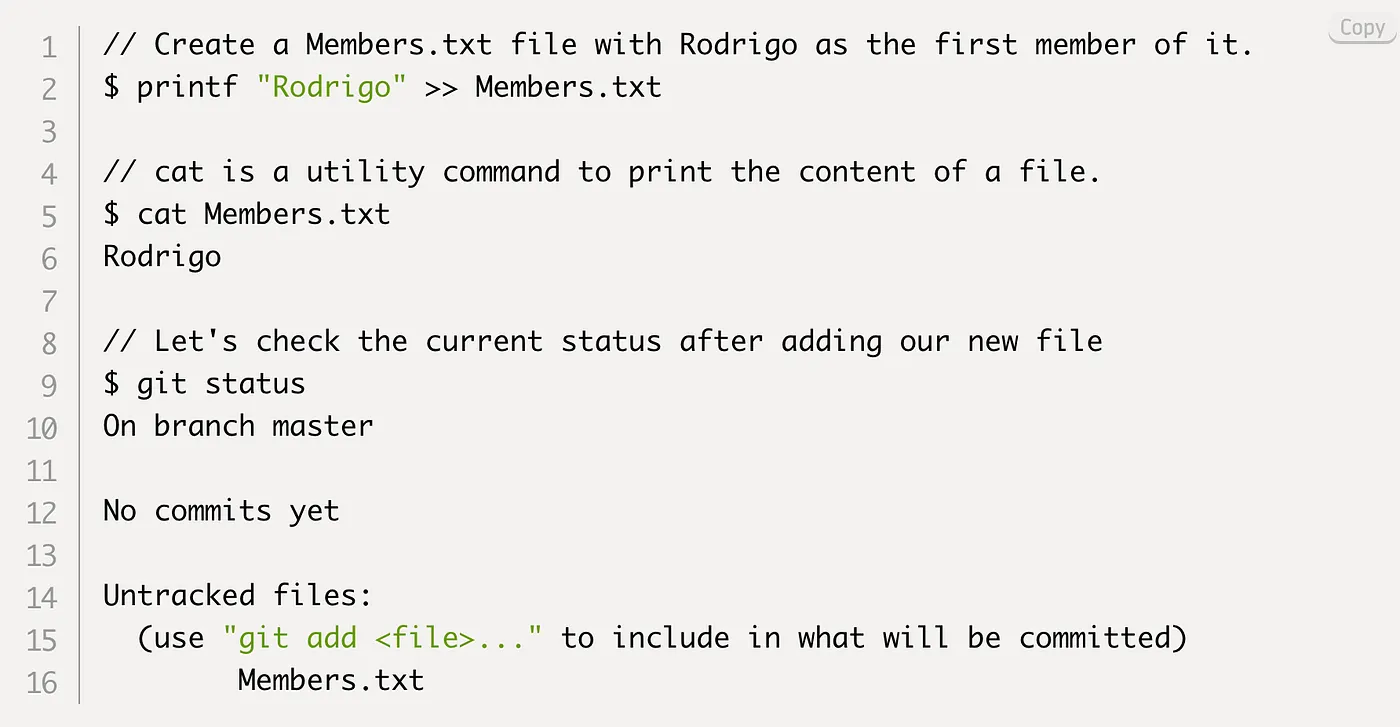
verify করি:
$ git cat-file -t a1b2c3d4
blob
$ git cat-file -p a1b2c3d4
hello hardcore

Blob তৈরি হয়ে গেছে। কিন্তু এটা এখনো staging area তে নাই — index এ register করতে হবে।
Step 3: Index এ add করি
git update-index দিয়ে blob কে index file এ entry হিসেবে যোগ করি:
$ git update-index --add --cacheinfo 100644 a1b2c3d4... hello.txt
--cacheinfo— manually mode, hash, path দিচ্ছি100644— regular file permission- এটা porcelain
git addএর কাজ — কিন্তু আমরা সরাসরি plumbing দিয়ে করছি
$ git status
Changes to be committed:
  new file:   hello.txt
Step 4: Tree তৈরি
Index এর state কে একটা tree object বানাতে git write-tree:
$ git write-tree
b2c3d4e5...
এটা index এ যা যা আছে সব নিয়ে একটা tree object তৈরি করে objects/ এ write করে, hash return করে।
$ git cat-file -p b2c3d4e5
100644 blob a1b2c3d4...  hello.txt
দেখো — tree এর ভিতরে exactly সেই info: mode, type, blob-hash, name।
Step 5: Commit তৈরি
Tree কে wrap করে commit object বানাই git commit-tree দিয়ে:
$ echo "first hardcore commit" | git commit-tree b2c3d4e5
c3d4e5f6...
- input হিসেবে commit message stdin দিয়ে
- output — commit object এর hash
$ git cat-file -p c3d4e5f6
tree b2c3d4e5...
author Nazrul <...> 1716...
committer Nazrul <...> 1716...

first hardcore commit
প্রথম commit, তাই কোনো parent line নাই।
Step 6: Branch কে point করানো
Commit তৈরি হলো কিন্তু main branch এখনো এটাকে চেনে না — কারণ refs/heads/main file ই নাই। তৈরি করি:
$ git update-ref refs/heads/main c3d4e5f6...
অথবা সরাসরি:
$ echo "c3d4e5f6..." > .git/refs/heads/main
দুইটাই same কাজ — branch file এ commit hash বসিয়ে দেওয়া।

verify:
$ git log
commit c3d4e5f6... (HEAD -> main)
Author: Nazrul <...>

    first hardcore commit
🎉 কোনো porcelain command ছাড়া আমরা পুরা commit তৈরি করে ফেললাম।
Step 7: দ্বিতীয় commit (parent দিয়ে)
File edit করে আবার একই process:
$ echo "second line" >> hello.txt
$ git hash-object -w hello.txt              # নতুন blob
d4e5f6...
$ git update-index --add --cacheinfo 100644 d4e5f6... hello.txt
$ git write-tree                            # নতুন tree
e5f6a7...
$ echo "second commit" | git commit-tree e5f6a7 -p c3d4e5f6
f6a7b8...
$ git update-ref refs/heads/main f6a7b8...
লক্ষ্য করো — -p c3d4e5f6 দিয়ে আগের commit কে parent হিসেবে দিচ্ছি। এটাই history তৈরি করে।


Step 8: নতুন branch হাতে বানাই
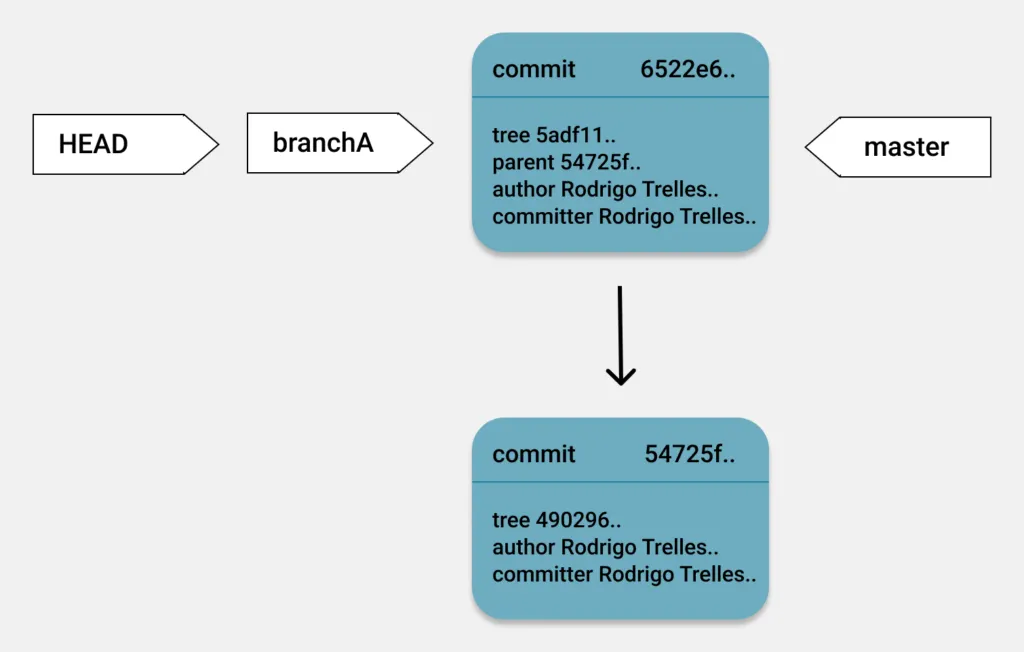
dev branch তৈরি করতে শুধু একটা file বানালেই হয়:
$ cp .git/refs/heads/main .git/refs/heads/dev
ব্যস। dev এখন main এর same commit কে point করছে।

switch করতে HEAD পাল্টাই:
$ echo "ref: refs/heads/dev" > .git/HEAD
$ git branch
* dev
  main
দেখলে? Branch switch মানে শুধু একটা text file এর content পাল্টানো। আর কিছু না।
Step 9: Tag — branch এর immutable cousin
Tag আর branch এর difference একটাই: tag advance করে না।
$ mkdir -p .git/refs/tags
$ echo "f6a7b8..." > .git/refs/tags/v1.0
ব্যস। v1.0 permanently সেই commit কে point করবে।

সারসংক্ষেপ
আমরা এই tutorial এ যা শিখলাম:
- Git core = key-value store — content দাও, SHA-1 hash পাও।
- তিন object type:
- blob = file content
- tree = directory listing (mode + type + hash + name)
- commit = tree pointer + metadata + parent
- Branch =
.git/refs/heads/<name>text file, ভিতরে commit hash। - HEAD = pointer to current branch (
ref: refs/heads/main)। - Tag = immutable branch।
- Plumbing command দিয়ে পুরো repo manually বানানো যায়:
git hash-object -w→ blobgit update-index --add --cacheinfo→ staginggit write-tree→ treegit commit-tree -p→ commitgit update-ref→ branch
এতটুকু মাথায় থাকলে rebase, cherry-pick, reset, reflog — সব কিছু পরিষ্কার লাগবে। কারণ এগুলো আসলে শুধু pointer গুলো এদিক-ওদিক সরানো ছাড়া আর কিছুই না।
Git আসলে version control না — version control হলো content-addressable object store এর উপর বসানো একটা পাতলা লেয়ার।